A waterfall chains multiple data providers together and tries them one by one until one returns a result. If the first provider has no data, the next is tried automatically. This continues down the chain until a provider succeeds or all have been exhausted.This gives you the highest possible data coverage from a single operation, without manually running and merging results from multiple sources.
No single data provider covers every record. One service might find 60% of emails, another a different 50%, and a third might cover niche domains the others miss. Waterfalls automate the fallback logic so you define the provider order once and Databar handles the rest.
Databar ships several pre-built waterfalls. Each one is purpose-built for a specific enrichment use case.
The list of waterfalls and data providers below may not be fully up to date. We ship updates frequently and may have added new waterfalls or providers since this page was last updated. Check the enrichment panel in your table for the latest options.
Email by name
Find a work email address from a person’s name and the company they work at.Input
Adding a waterfall to your table works similarly to adding a single enrichment:
1
Add an enrichment
Click Enrich in the top-left corner of your table, then select Add a new Enrichment and switch to the Waterfalls tab.
2
Choose a waterfall
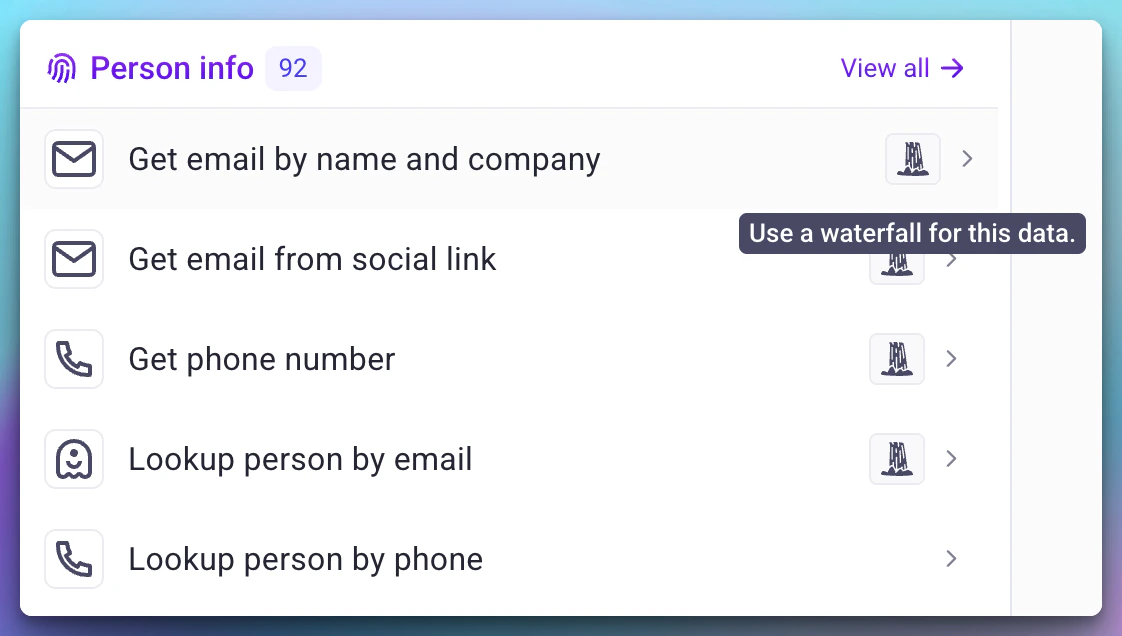
Select the waterfall you want to use. The setup sidebar will appear. Categories that include waterfalls are marked with a small waterfall icon.
3
Configure the waterfall setup
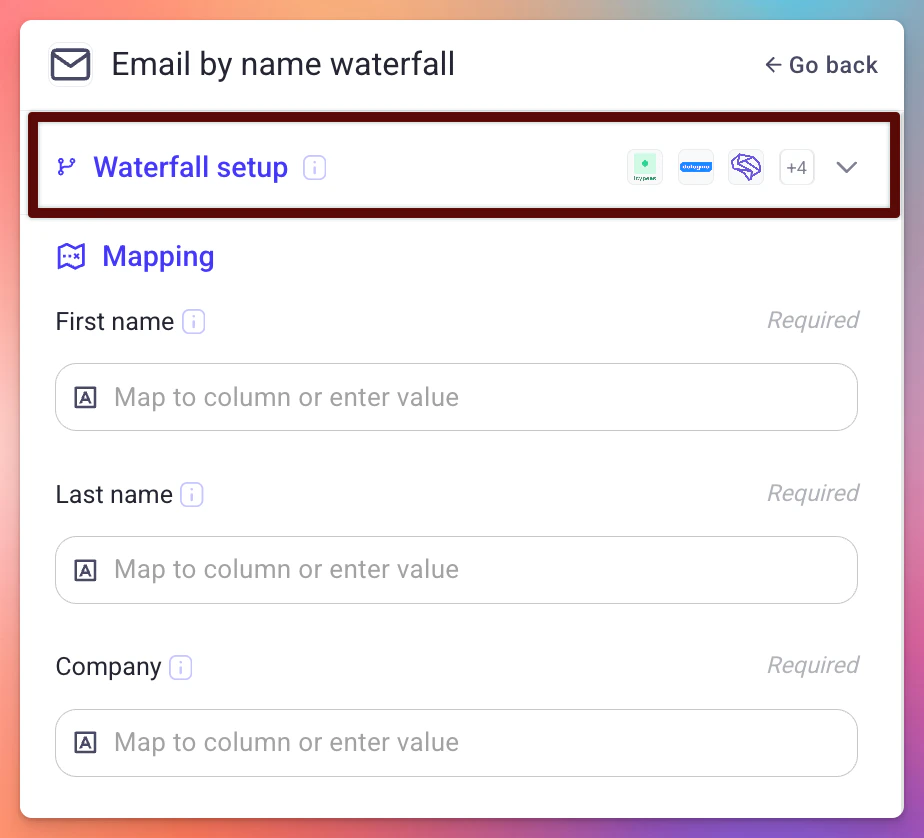
Click on Waterfall setup to expand the provider configuration. Here you can see all available data providers for this waterfall, each showing its name, logo, and credit cost.You can customize the waterfall in three ways:
Reorder providers by dragging the provider cards up or down. The order determines which provider is tried first.
Toggle providers on or off. Click a provider card to enable or disable it. Disabled providers are skipped during execution.
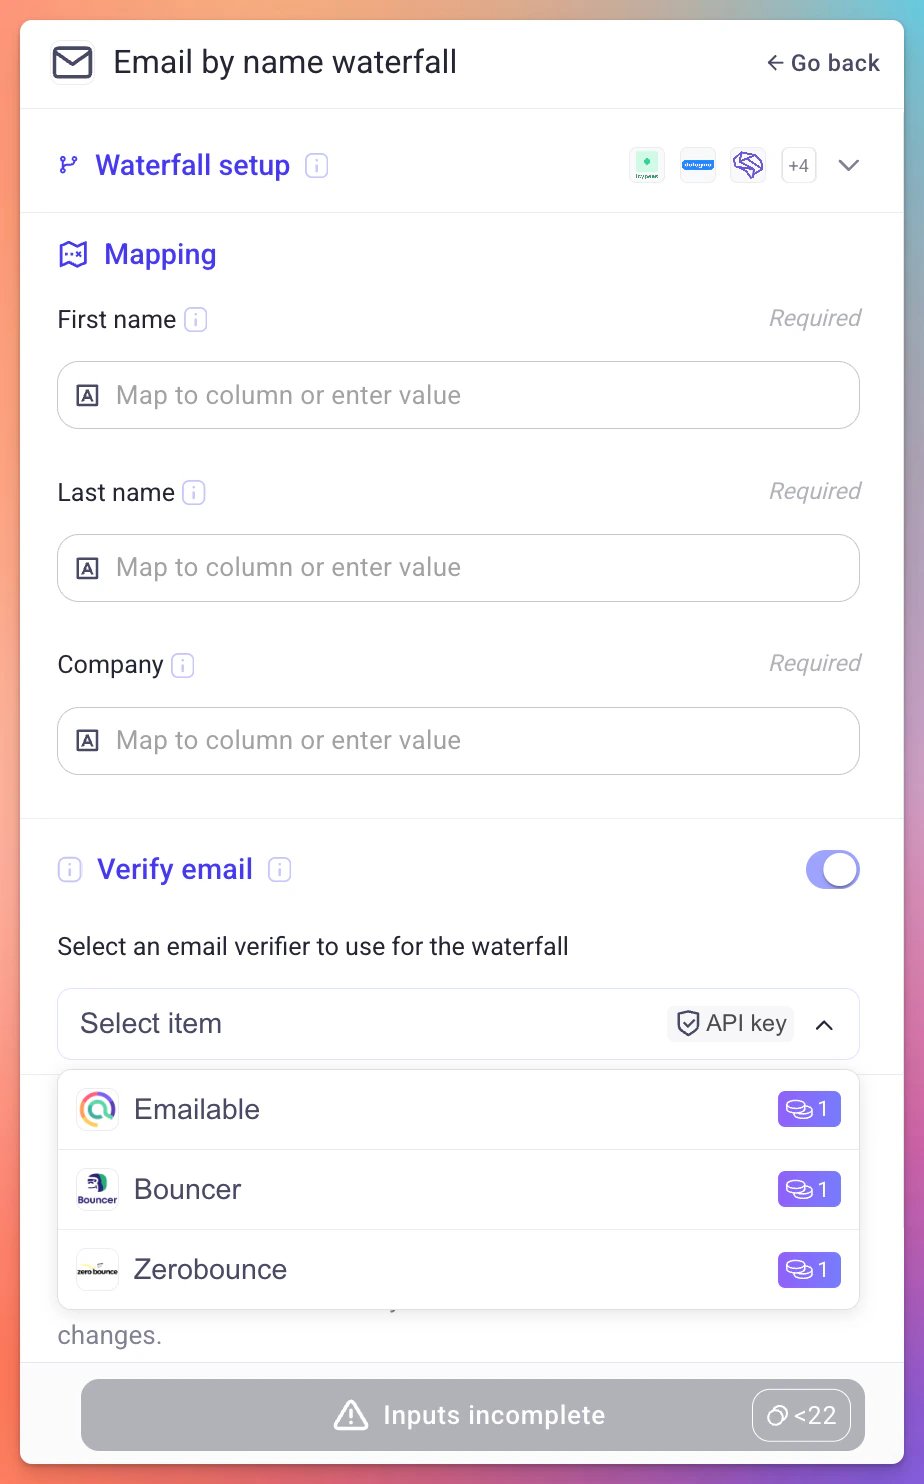
Add an email verifier (email waterfalls only). Toggle the “Verify email” switch and select a verification service.
Click 'Waterfall setup' to expand provider configuration
4
Map input parameters
Under Mapping, map each required input parameter to a column in your table or enter a static value.
5
Run the waterfall
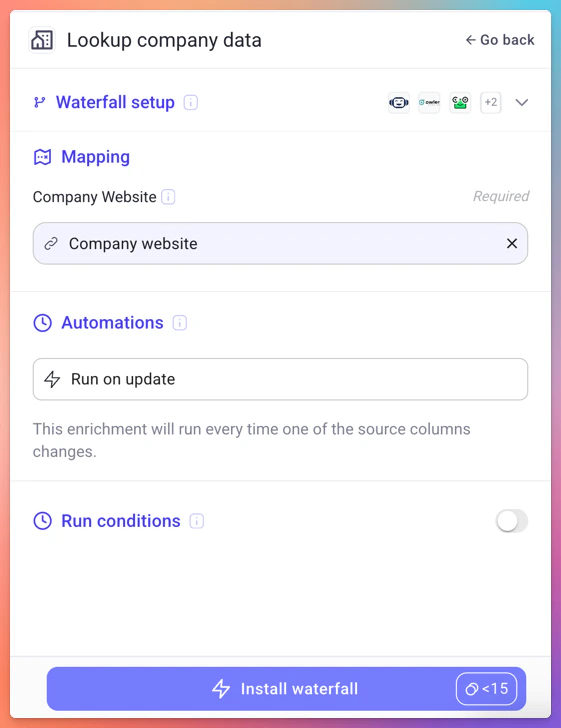
Click Run (or Install waterfall for new setups) to process your rows.
All standard table features work with waterfalls: run conditions, automations, cell-level statuses, and run strategies (run all, run empty, run single row).
The Email by name and Email by link waterfalls support optional email verification. When enabled, each time a provider returns an email, the verifier checks its deliverability before the waterfall accepts it. If the email fails verification, the waterfall continues to the next provider instead of returning an undeliverable address.Available email verifiers:
Each verifier has its own credit cost, shown in the setup sidebar. You can choose whichever verifier you prefer.
When a provider returns an email that fails verification, the waterfall moves on to the next provider, but you are still charged for the successful run on the original provider. The provider did return a result; it just didn’t pass the verification step. Keep this in mind when estimating costs, as verification can increase the total credits consumed per row.
Providers are tried from top to bottom. The waterfall stops at the first provider that returns a usable result. This means provider order directly affects your cost per lookup.
Place your cheapest or highest-coverage providers first. For example, if Provider A costs 1 credit and covers 40% of records while Provider B costs 3 credits and covers 70%, putting Provider A first means you only pay the higher price for the 60% of records that Provider A misses.


 MCP Server